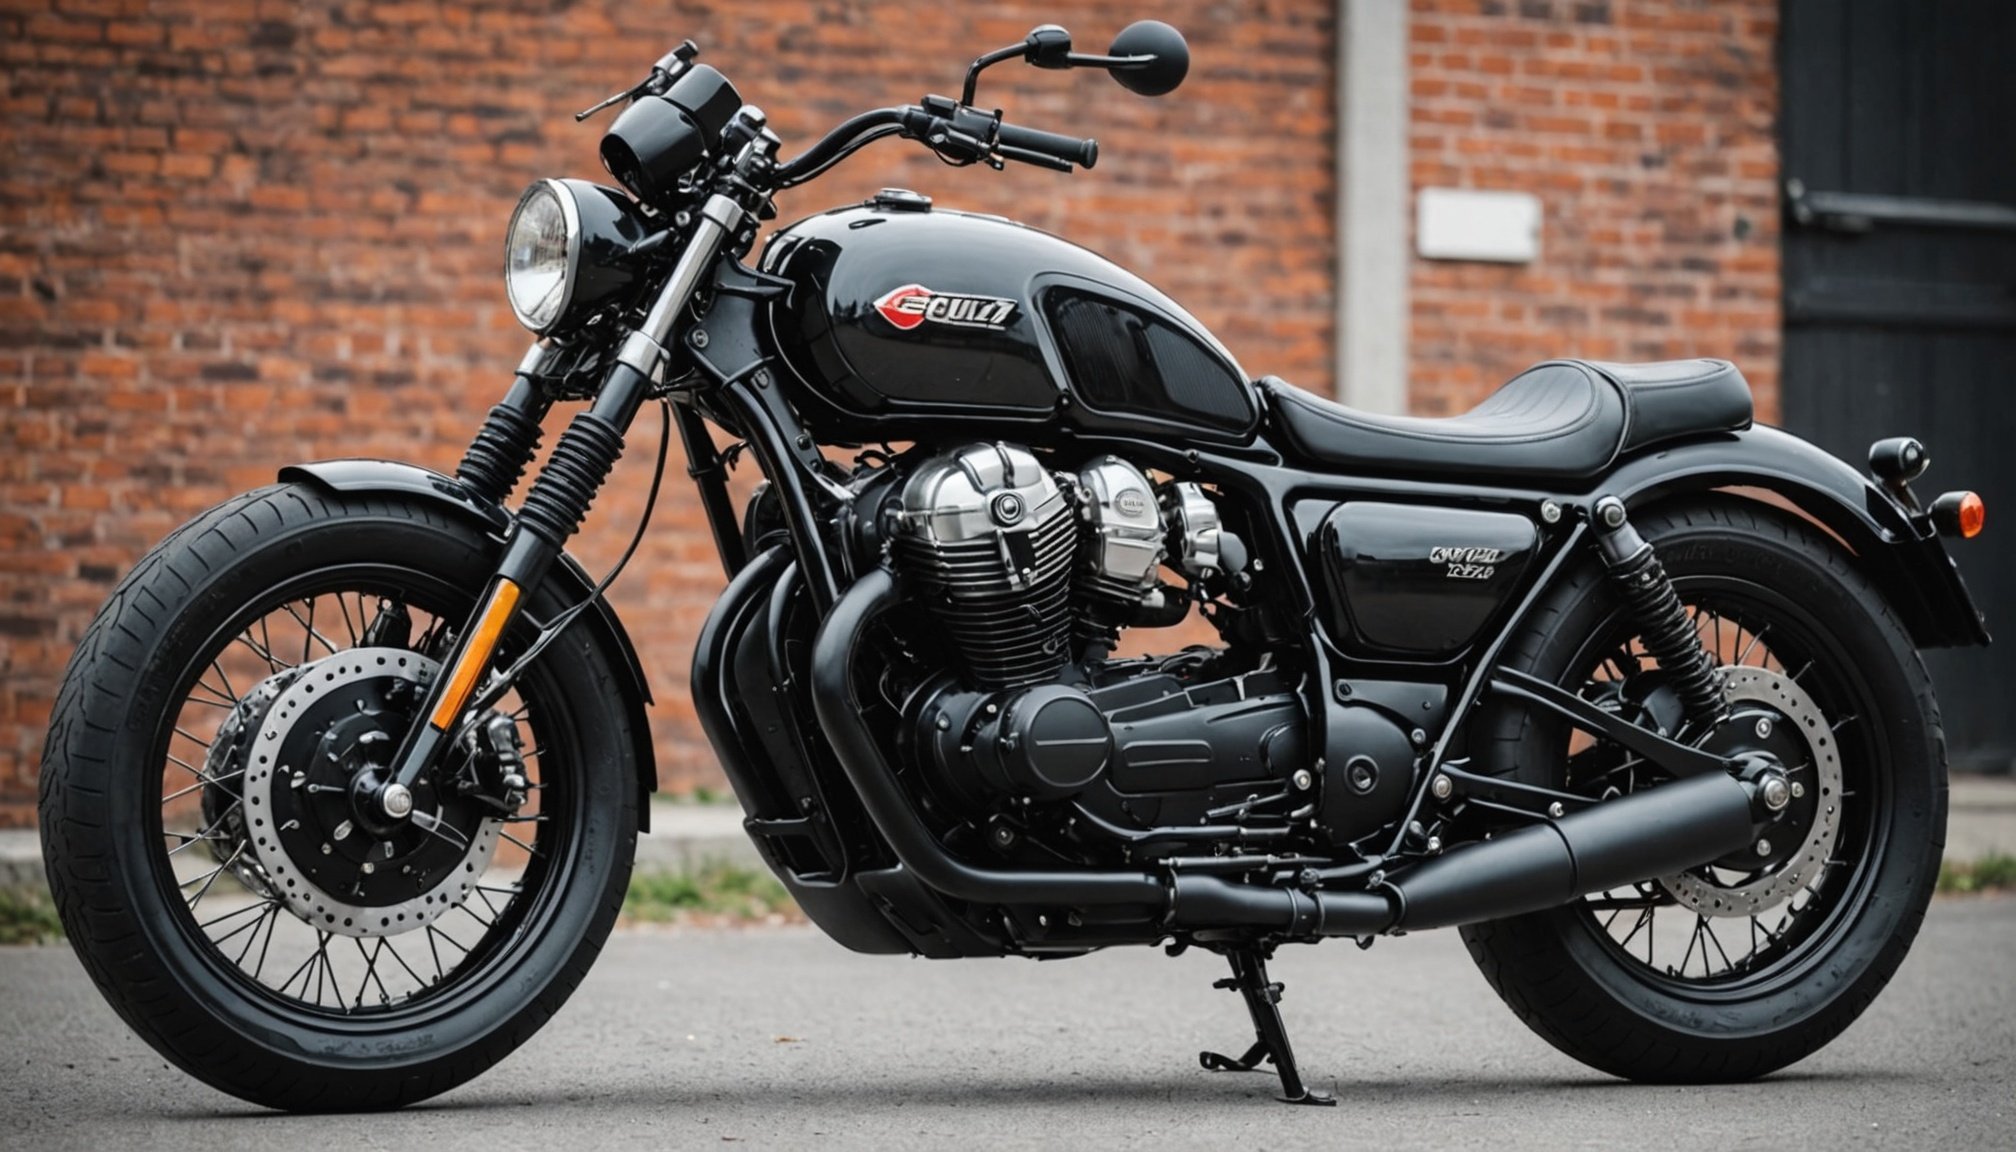
The Ultimate Guide to Engine Bolt Torque Specs for the Moto Guzzi V9 Bobber: Your Key to a Perfect Fit
When it comes to maintaining or modifying your Moto Guzzi V9 Bobber, understanding the engine bolt torque specifications is crucial. This guide will delve into the detailed torque specs, tools needed, and best practices to ensure your bike runs smoothly and efficiently.
Why Torque Specs Matter
Torque specs are not just numbers; they are the backbone of engine integrity. Incorrectly torqued bolts can lead to catastrophic failures, such as cylinder head warping, stripped threads, or even engine seizures. Here’s what a seasoned mechanic has to say:
Additional reading : Ultimate guide: mastering throttle body synchronization for your bmw r ninet racer
“Torque specs are like the recipe for a perfect dish. If you get them wrong, the whole thing falls apart. It’s not just about tightening bolts; it’s about ensuring every component works in harmony,” says John, a veteran motorcycle mechanic.
Tools and Equipment Needed
Before you start, make sure you have the right tools for the job. Here are the essentials:
Additional reading : Ultimate guide to stopping and managing surface rust on your suzuki drz400 frame
Torque Wrench
A torque wrench is the most critical tool for this task. It ensures that each bolt is tightened to the exact specification. Invest in a high-quality torque wrench that can handle the range of torques required for your Moto Guzzi V9 Bobber[3].
Socket Set
A comprehensive socket set is necessary for accessing various bolts. Ensure it includes the sizes specified in the manual.
Engine Stand
An engine stand can be helpful if you’re doing a major overhaul, as it stabilizes the engine and makes it easier to work on[4].
Detailed Torque Specifications for the Moto Guzzi V9 Bobber
Here is a detailed list of torque specifications for key components of the Moto Guzzi V9 Bobber:
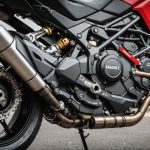
Cylinder Head
- Cylinder head bolts: 30 Nm (22 lbf.ft) in a star pattern to avoid warping the head.
- Head cover bolts: 10 Nm (7.4 lbf.ft)[3].
Engine Block
- Crankcase bolts: 40 Nm (29.5 lbf.ft) for the main bolts and 20 Nm (14.8 lbf.ft) for the secondary bolts.
- Oil pan bolts: 15 Nm (11 lbf.ft)[3].
Transmission
- Gearbox cover bolts: 20 Nm (14.8 lbf.ft).
- Gear lever bolt: 30 Nm (22 lbf.ft)[3].
Rear Suspension
- Rear shock absorber bolts: 40 Nm (29.5 lbf.ft).
- Swingarm bolts: 50 Nm (36.9 lbf.ft)[1].
Step-by-Step Guide to Torquing Bolts
Here’s a step-by-step guide to help you through the process:
Preparation
- Ensure the engine is cold or at room temperature to avoid any thermal expansion that could affect torque readings.
- Use a clean and well-lit workspace to avoid any mistakes.
Torquing the Cylinder Head
- Apply a thin layer of engine oil to the threads of the cylinder head bolts.
- Tighten the bolts in a star pattern to avoid uneven pressure on the head.
- Use a torque wrench to tighten to the specified 30 Nm (22 lbf.ft)[3].
Torquing the Engine Block
- For the crankcase bolts, start with the main bolts and tighten them to 40 Nm (29.5 lbf.ft).
- Move on to the secondary bolts and tighten them to 20 Nm (14.8 lbf.ft).
- Ensure all bolts are tightened in the correct sequence to avoid any damage to the engine block[3].
Torquing the Transmission
- For the gearbox cover bolts, tighten them to 20 Nm (14.8 lbf.ft).
- The gear lever bolt should be tightened to 30 Nm (22 lbf.ft)[3].
Common Mistakes to Avoid
Failing to Use a Torque Wrench
One of the most common mistakes is not using a torque wrench. This can lead to over-tightening or under-tightening, both of which can be disastrous.
Not Following the Sequence
Always follow the specified sequence for tightening bolts. This ensures even pressure distribution and prevents damage to components.
Overlooking Gaskets and Seals
Old gaskets and seals should never be reused. Always replace them during any major overhaul to ensure there are no leaks when the engine is back in operation[4].
Practical Insights and Actionable Advice
Keep a Complete Book of Specifications
Having a complete book of specifications for your Moto Guzzi V9 Bobber is invaluable. It provides all the torque specs and other critical information you need.
Use Assembly Lubricant
When reassembling the engine, use assembly lubricant on key components to protect them during the initial start-up. This is especially important for parts that won’t be immediately supplied with oil[4].
Take Photos During Disassembly
Taking photos during disassembly can be a lifesaver during reassembly. It provides visual references that diagrams in manuals might not convey clearly[4].
Real-World Examples and Anecdotes
A Cautionary Tale
“I once worked on a Harley Davidson that had been over-torqued by a previous owner. The cylinder head was warped beyond repair, and the engine had to be replaced entirely. It was a costly mistake that could have been avoided with the right tools and knowledge,” shares Mark, a motorcycle enthusiast.
A Triumph Story
“I rebuilt my Triumph Tiger’s engine and made sure to follow every torque spec to the letter. The result was a bike that ran smoother and more efficiently than ever before. It was a rewarding experience that taught me the importance of precision in engine work,” says Sarah, a seasoned rider.
Understanding and applying the correct torque specs for your Moto Guzzi V9 Bobber is not just about following a set of numbers; it’s about ensuring the longevity and performance of your bike. Here is a summary of the key points:
| Component | Torque Spec | Notes |
|---|---|---|
| Cylinder Head Bolts | 30 Nm (22 lbf.ft) | Star pattern tightening |
| Head Cover Bolts | 10 Nm (7.4 lbf.ft) | |
| Crankcase Bolts | 40 Nm (29.5 lbf.ft) | Main bolts; secondary bolts at 20 Nm (14.8 lbf.ft) |
| Oil Pan Bolts | 15 Nm (11 lbf.ft) | |
| Gearbox Cover Bolts | 20 Nm (14.8 lbf.ft) | |
| Gear Lever Bolt | 30 Nm (22 lbf.ft) | |
| Rear Shock Absorber | 40 Nm (29.5 lbf.ft) | |
| Swingarm Bolts | 50 Nm (36.9 lbf.ft) |
By following this guide, you’ll be well on your way to ensuring your Moto Guzzi V9 Bobber runs like new, whether you’re cruising down the highway or taking on the twists and turns of the Isle of Man.
Final Tips
- Always Consult the Manual: Before starting any work, consult the official manual for your Moto Guzzi V9 Bobber.
- Use Quality Tools: Invest in high-quality tools, especially a torque wrench.
- Take Your Time: Engine work is not a rush job; take your time to ensure everything is done correctly.
- Seek Professional Help: If you’re unsure about any part of the process, don’t hesitate to seek help from a professional mechanic.
With the right knowledge and tools, you’ll be able to keep your Moto Guzzi V9 Bobber in top condition, ready for any adventure that comes your way. Happy riding